SMS Notifications
Installing the plugin
1. Automatic Installation: You can install the plugin from the backend of your WordPress. Click Here to see how you can install the plugin automatically.
Twilio Account Configuration
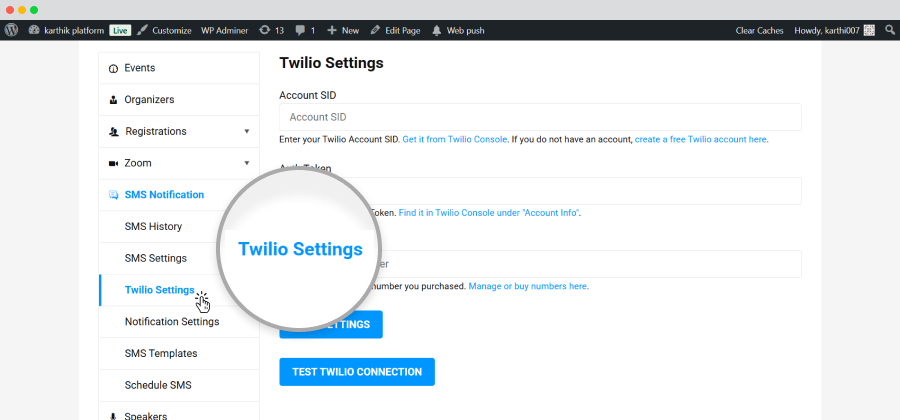
Twillio Account SID: You can get your Twillio Account SID from Twilio Console. If you do not have an account, create a free Twilio account here.
Auth Token: You can find it in your Twilio Console under "Account Info".
Twillio Phone number: You can buy a number from the Twilio Phone Numbers section.
Twillio Account Creation
To create a Twillio account, you need to follow the below-mentioned steps:
Click here to create a free Twillio account.
Add your basic details like your name, email, etc., or sign up with Google.
Your Twillio account will be created
Go to the Twilio Console to find your Twilio Account SID and Twilio Auth Token.
Login to your Twillio Account and go to the Account dashboard
Here in the Develop tab, you will get all your Twillio Account SID, API Key annd Twillio Auth Token.
Purchase a phone number from the Twilio Phone Numbers section and enter it in Twilio Phone Numbers.
In the Develop tab, you will find and click on the Phone numbers option.
Go to the buy a number option.
Admin contact number to receive admin SMS notifications. For example, when an organizer submits a new event, the admin receives an SMS notification. This notification will only work if a contact number is set here.
Under this section, you will need to set up various fields. All are mentioned below:
Registration Form Contact Number Field: Select the phone field here, so that the contact number field appears in the registration form for attendees.
Organizer Form Contact Number Field: Again, select the phone field to add the contact number field to the contact organizer form.
Guest Form Contact Number Field; Same like the other ones select Phone field to the Add Guest form.
Default Country Code: Select your default country code.
Save changes
SMS Notification Settings
To set up notifications for different event activities, here are the steps you need to follow:
Go to wp-admin
Click on WPEM SMS Notification.
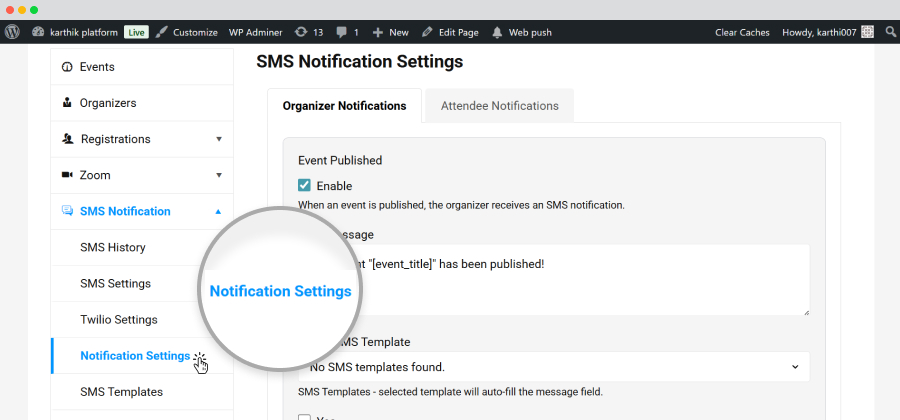
Go to Notification settings.
The first tab you will find here is Admin Notification which contains the following options:
Event Submitted: when you enable this option, an SMS notification is sent to the admin instantly when the organizer submits an event.
In the following box, you need to type the message that the admin will receive as the notification for event submission.
Next, you need to select your preferred SMS template.
Save changes.
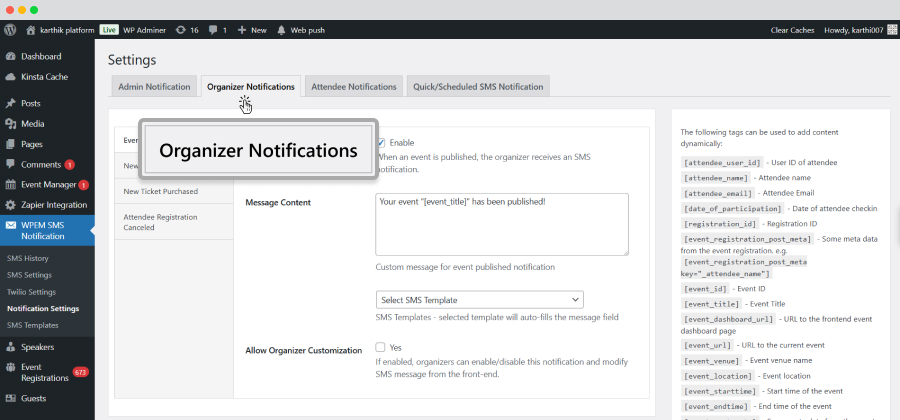
Enable notification: when you enable this option, an SMS notification is sent to the organizer instantly when an event is submitted.
Message content: In the following box, you need to type the message that the organizer will receive as the notification for event submission.
Next, you need to select your preferred SMS template.
Allow organization customization: When you enable this option, you allow the organizer to customize the SMS notification message from the frontend.
Save changes.
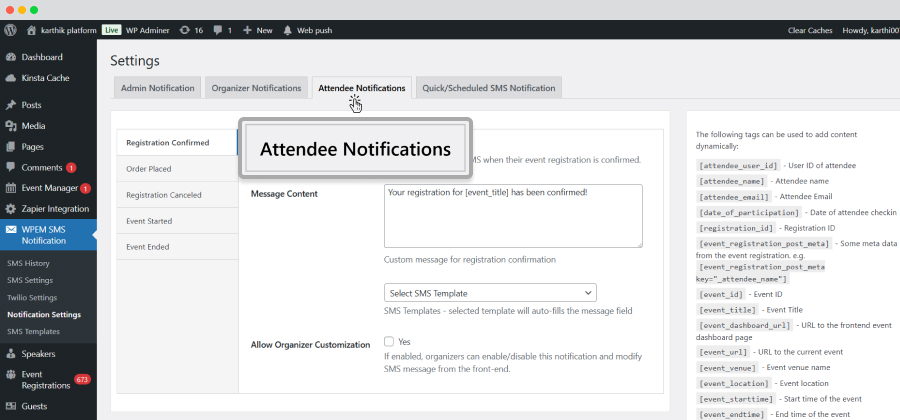
After that, you will come across the “Affendee Notification” tab which contains the following options:
Registration Confirmed
Order Placed
Registration Canceled
Event Started
Event Ended
In each of the section, you need to fill in the details same like the previously mentioned sections.
Registration Confirmed
Order Placed
Registration Canceled
Event Started
Event Ended
Frontend SMS settings for organizers
To ensure that an event organizer receives SMS notifications whenever a new event is published or a registration is made, here are the steps you need to take:
At first, the organizer needs to set up its Twillio account for which he needs to go through the following steps:
For example:
1. When an event is published, the organizer receives an SMS notification.
2. When a new attendee registers, the organizer receives an SMS notification.
and so on…
Frontend Setting for SMS Notification
If the logged-in frontend user is an admin, the settings will be synced with the admin settings and saved/updated in the options table.
If the logged-in frontend user is an organizer, the settings will be saved in the user meta table for each organizer.
As mentioned, most of the steps are the same in the backend and frontend. Once you visit the event dashboard at the frontend, you need to go to the SMS Notification section, which contains the following options in the dropdown:
SMS History: The admin or organizer can find and manage the history of all SMSes that are sent or exchanged in an event. He or she can filter SMSes based on status, registration and more. SMSes can also be filtered through dates, events and roles.

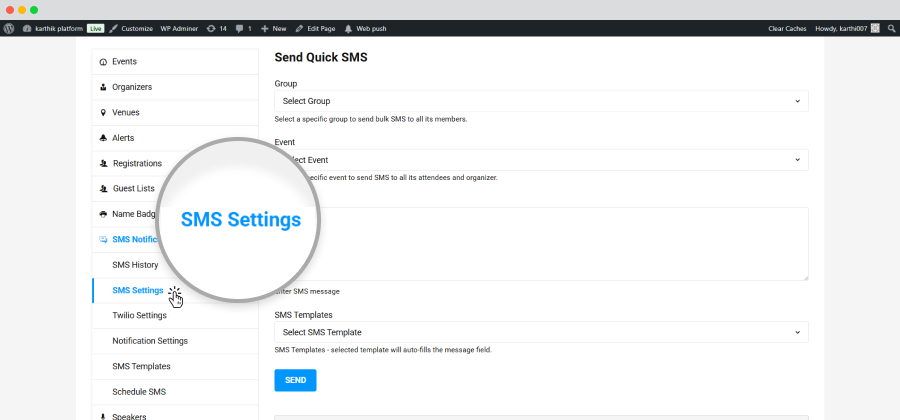
SMS Settings: This option allows you to send Quick SMSes to specific groups or attendees in an event.
Twillio Settings: just like the backend, you need to add the Account SID, Auth token and Twillio phone number here.
Notification settings: Here, you can set specific SMSes for Attendees and Organizers as per requirements.
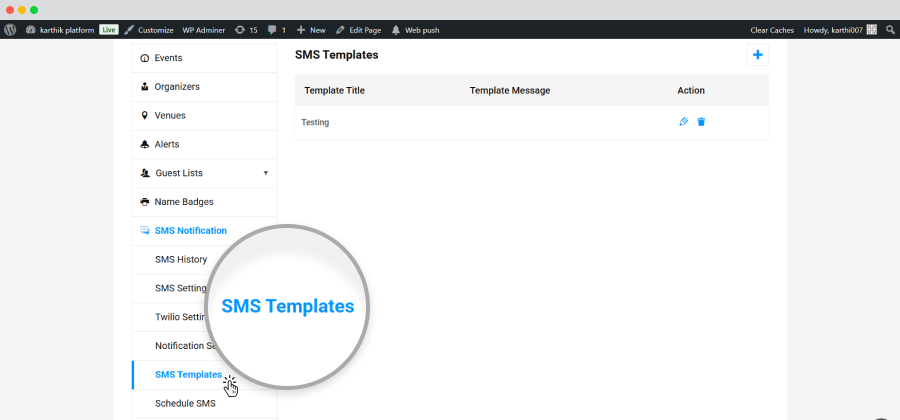
SMS Templates: You can create your preferred SMS template from here.
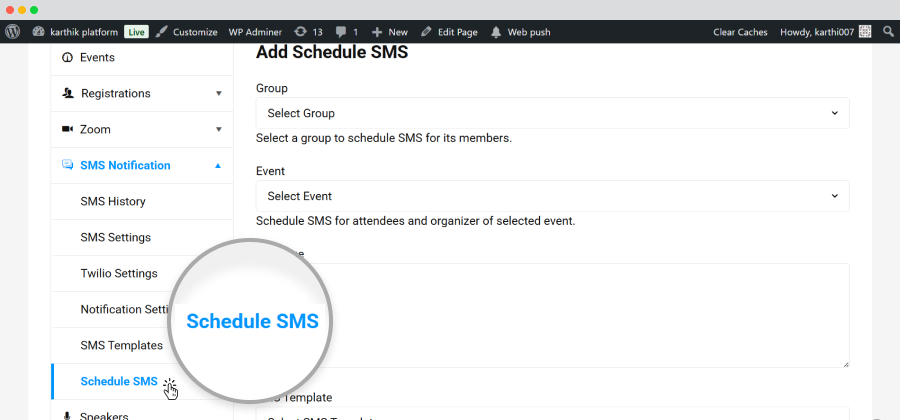
Schedule SMS: Under this section, you need to mention a few details that include:
- Message
- Event
- Group
- Scheduled time
- Recurrence
- Status
- Action
Related Articles
Zapier Integration
Installing the plugin The installation process is the same for all the addons offered by WP Event Manager. They can be installed both automatically and manually. Automatic Installation: You can install the plugin from the backend of your WordPress. ...Organizer App
The mobile application offered by WP Event Manager brings the entire event management system to your app. Starting from accessing attendee details to handing check-ins and check-outs everything can be done through the Organizer App. Installation The ...Zoom
The Zoom addon offered by WP Event Manager is a one-stop solution for WordPress users that offers robust tools to conduct virtual meetings, conferences and more. The Zoom addon is a very convenient tool for event organizers as it allows them to ...Attendee Quick-Start Guide
Overview Welcome to the event! This guide walks you through every step you need to take on your mobile app — from downloading the application at the venue to networking with matched attendees. Follow the numbered steps in order, and you will be ready ...Registrations
The Registration addon streamlines the entire registration process and also makes it easy for attendees to register for an event. It also allows the organizers and admins to manage the registration form and registration dashboard. Installing The ...